How to Set Up Prepayment in DIKIDI
Last modified:
It is important to start with setting up the prepayment method! Otherwise, the prepayment will not work.
1. After saving the payment method, go to the Settings - Prepayment section. Click on Add prepayment.
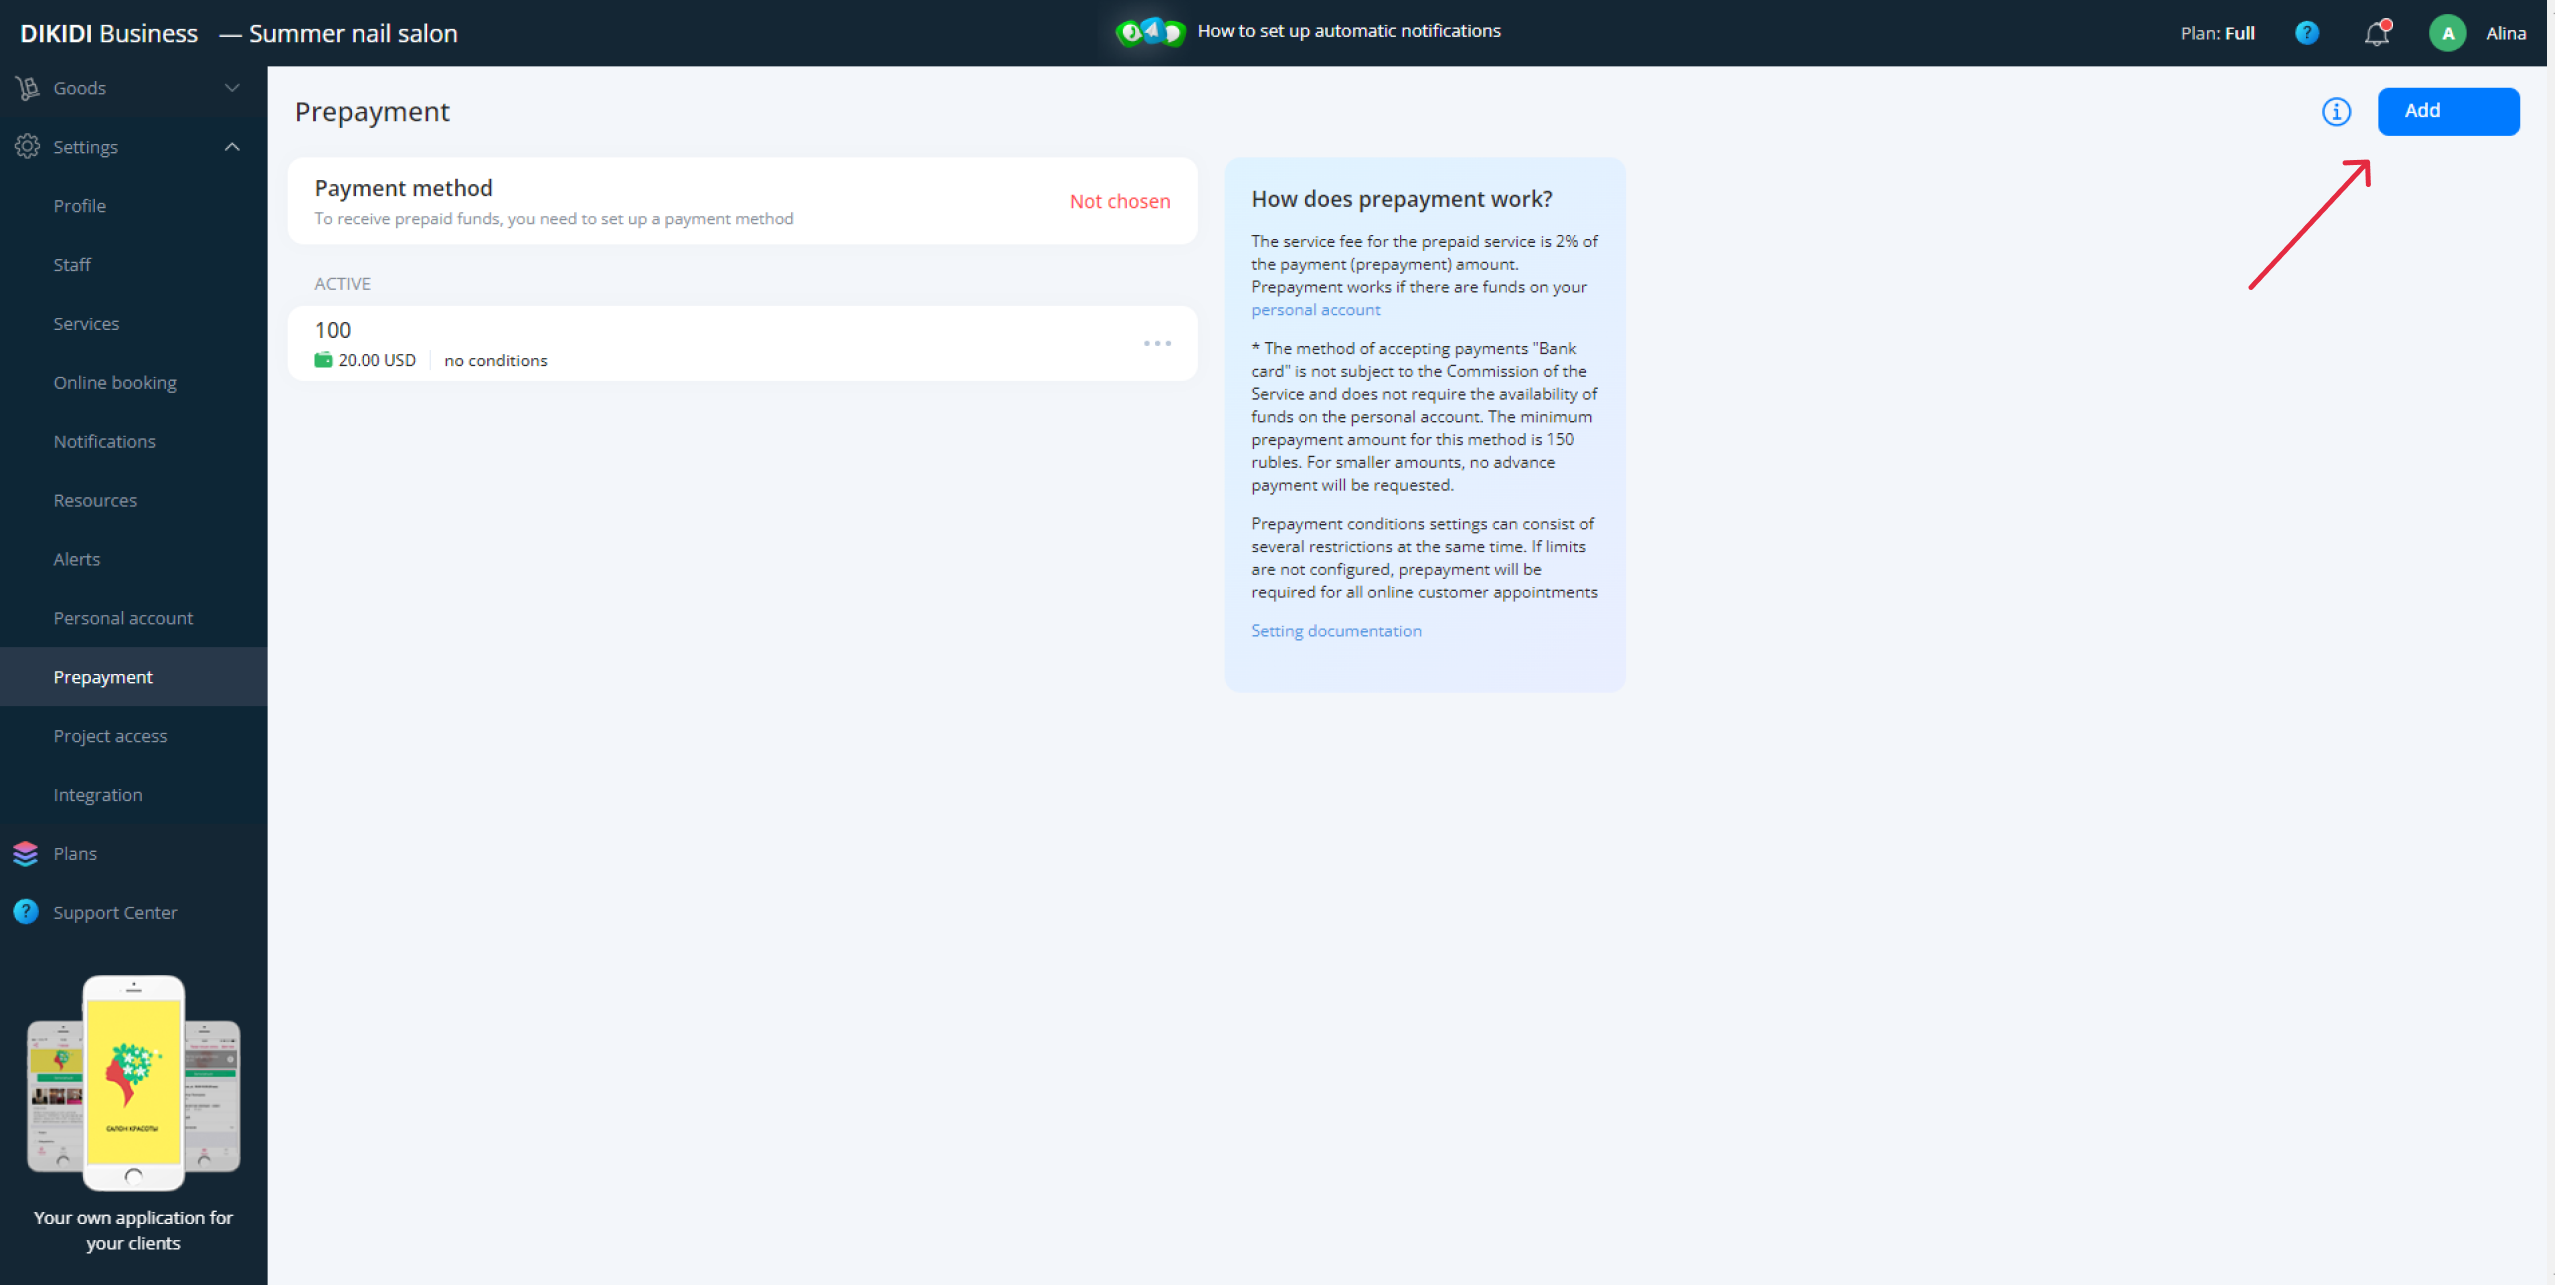
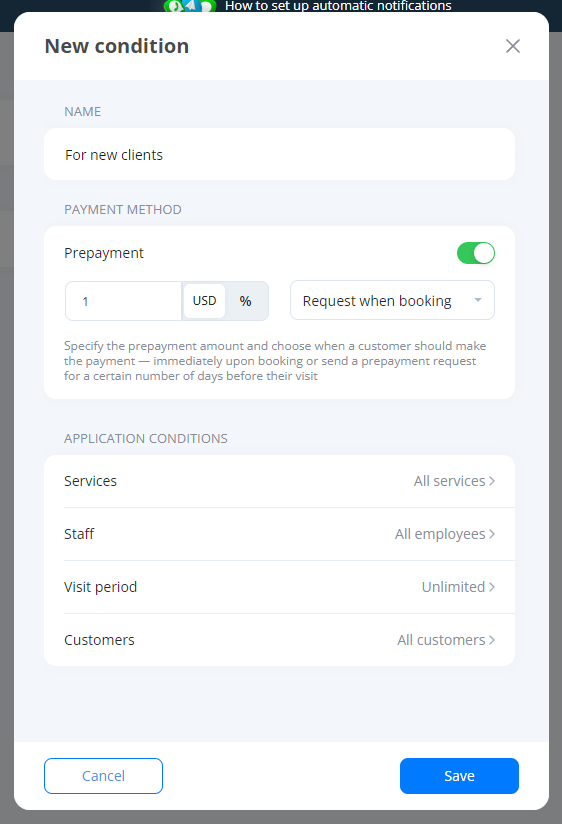
2. In the screen that opens, specify:
- Prepayment name
- Her priority (a number from 1 to infinity. The lower the number, the higher the priority of the specified conditions)
- Size (in percentage or kind)
Next, you can set limits for the prepayment request. This can be done below by turning on the appropriate toggle switch and configuring the parameters in it.
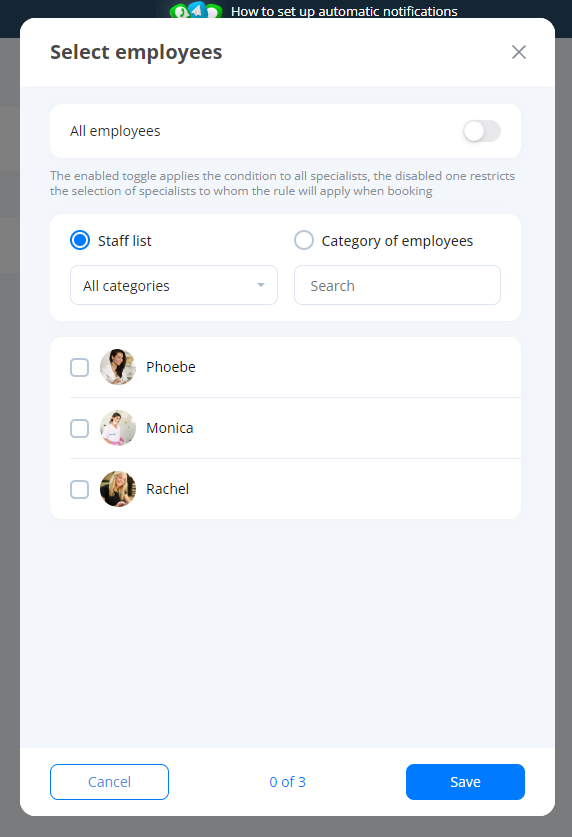
For example, Employees:
Select the category of an employee or a specific specialist, when booking for which an advance payment will be required.
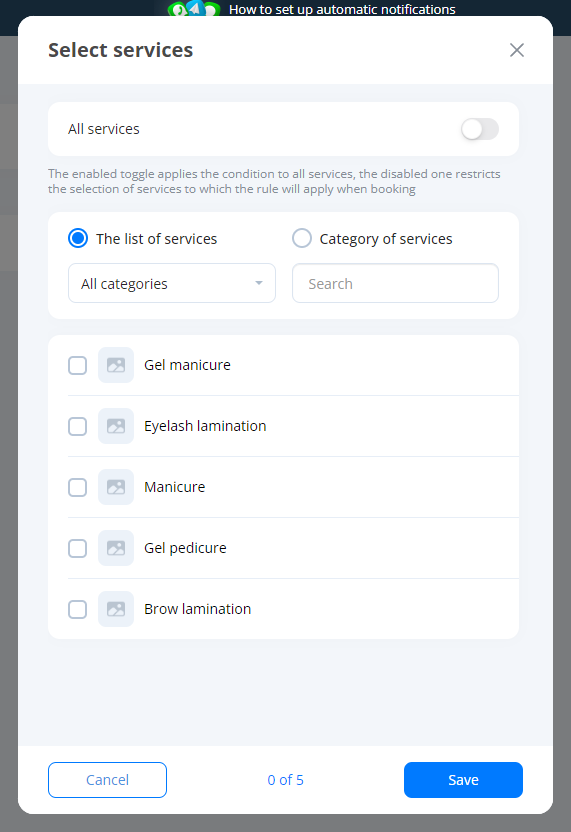
Or Services: By clicking the Change button, you can specify the services that will participate in the prepayment.
Clients: You can set the categories of clients from which you want to require prepayment when booking.
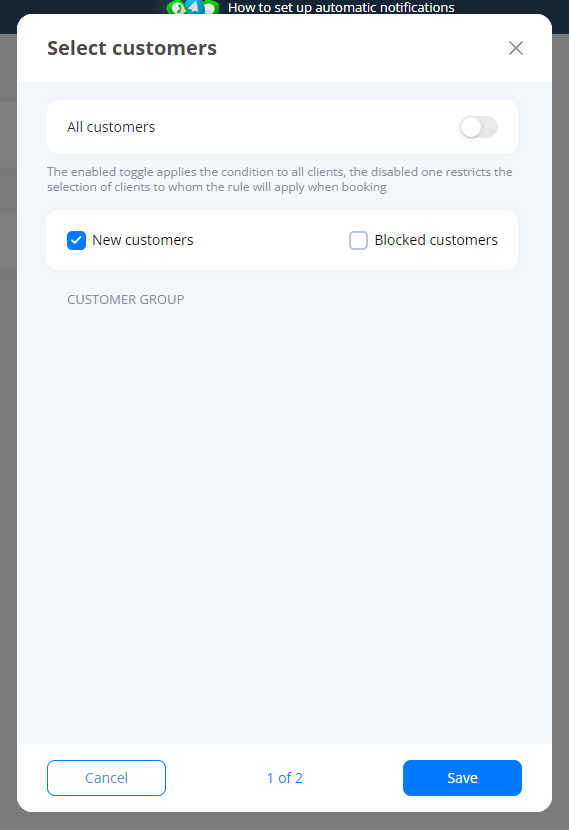
Time: When booking online for a selected time / arbitrary period/day/month/day of the week, prepayment will be applied.
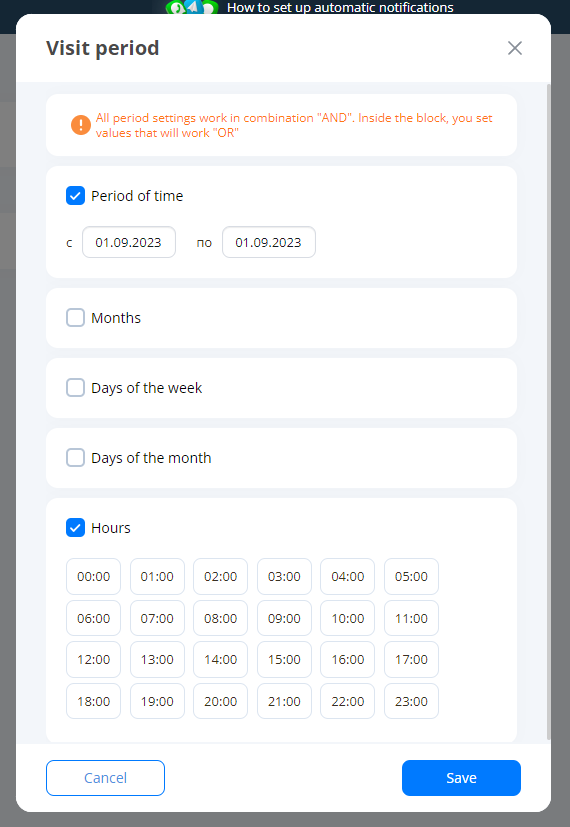
Various prepayment restrictions can function simultaneously, that is, they are taken into account together.