Manual Sending of Notifications
Last modified:
Automatic notifications are convenient and effective for businesses, but they may not be suitable for everyone. That's why we have added the option of manual notification sending through the Manual Sending channel.
Manual sending of notifications is available both in the DIKIDI mobile app and web version.
What is the purpose of manual sending?
Manual sending provides a flexible solution for managing your customer base and sending notifications. You can reach out to customers to remind them of their appointments, invite them for follow-up visits, request feedback, and more.
DIKIDI automatically generates the text of the notification messages, and you send them manually. You can send messages without any limitations and also monitor the delivery status of all notifications.
If you want to send a small number of notifications, you can configure message sending through popular messengers and social media, saving your time and energy.
How to enable it?
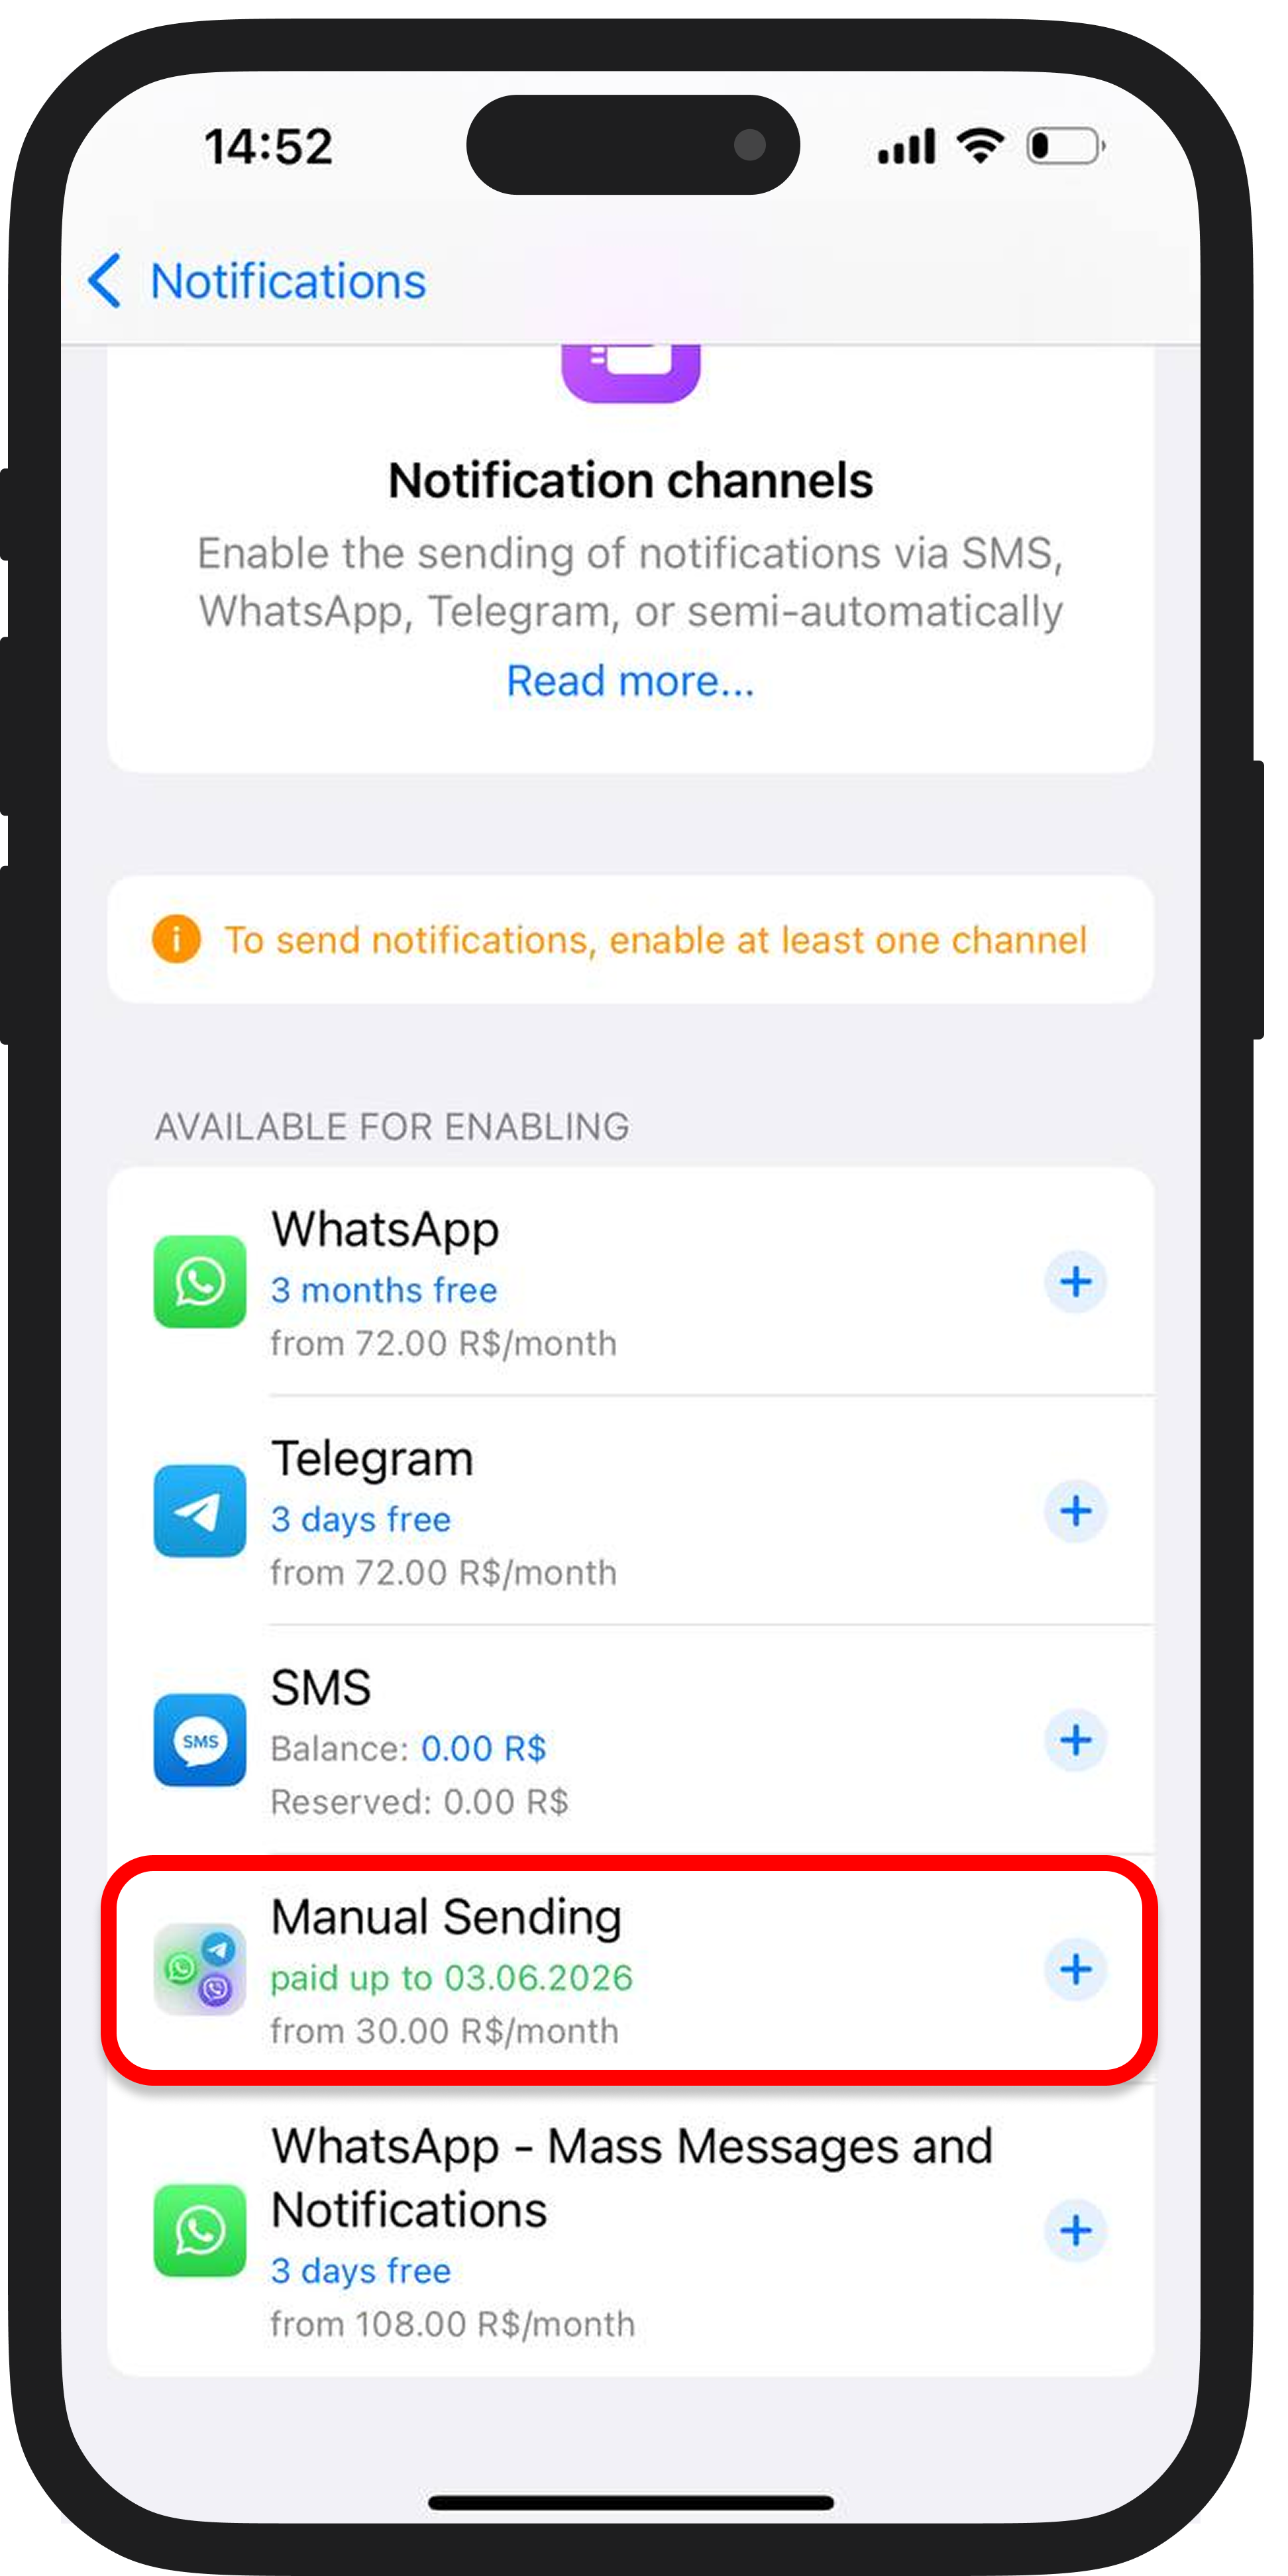
In the DIKIDI mobile app:
→ Open Notifications from the Settings.
→ Find Manual Sending in the Types of notifications section.
→ Tap Enable to activate it.
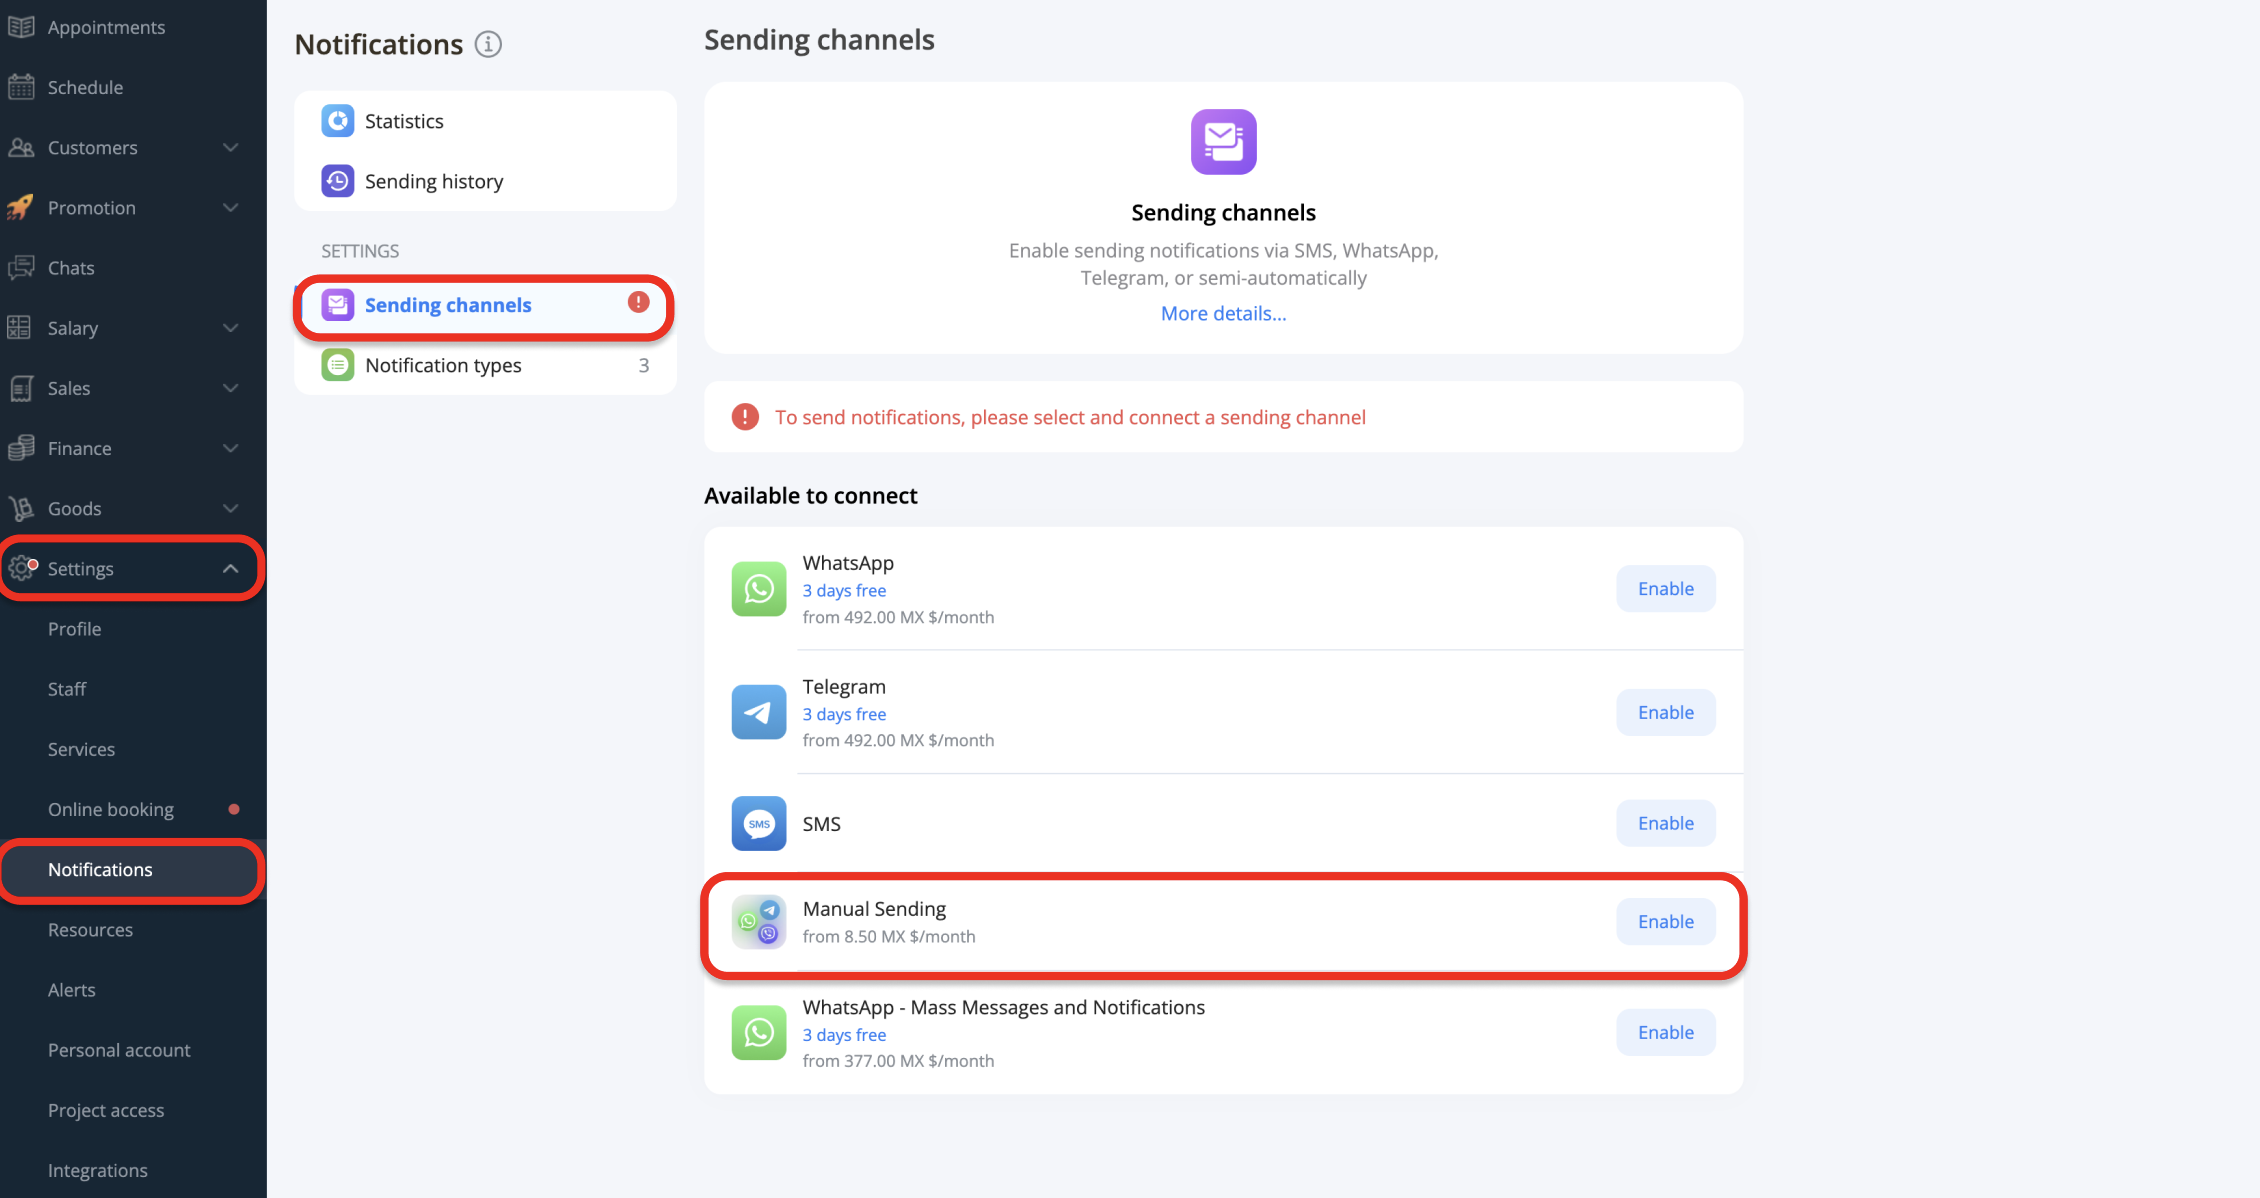
In the DIKIDI web version:
→ Open Notifications in the Settings section.
→ Find Manual Sending under the available channels.
→ Click Enable to activate it.
After enabling it, you will be redirected to the Settings section.
How to configure manual notifications?
1. Open the Notification Types section in Notifications.
Here you can select the types of notifications you want to send (go to the Notification Types section), configure the default sending time and period, and choose the sending methods.
2. Until the sending time arrives, the notification will be in the Pending status.
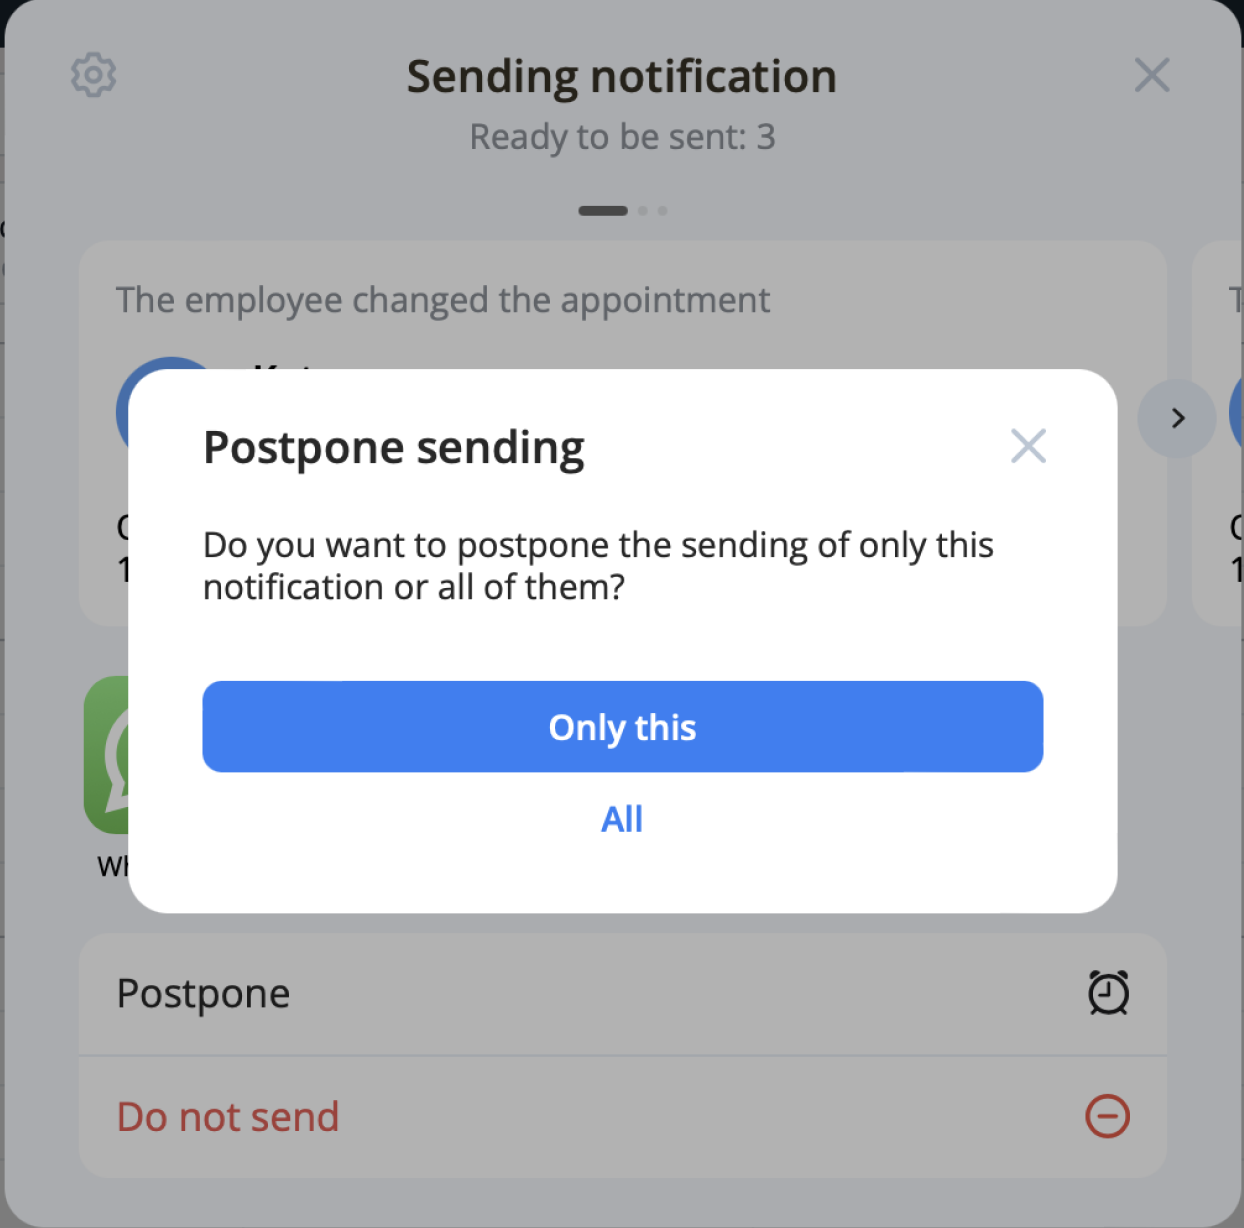
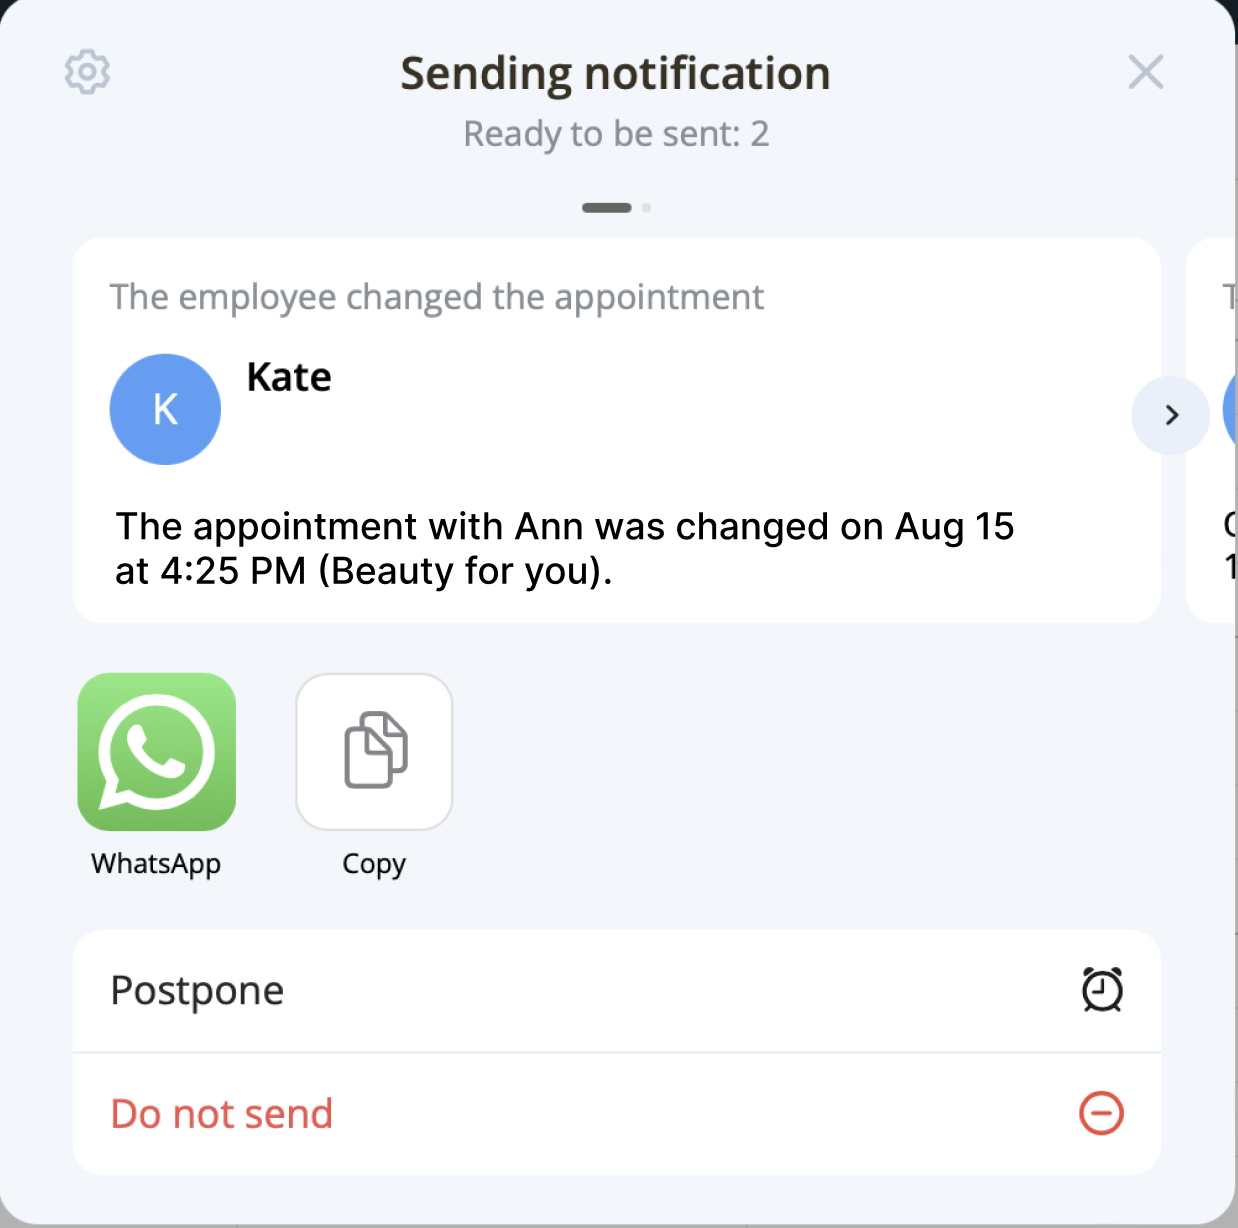
3. The sending window will automatically open when the sending time arrives. In the popup window, you can:
- select a sending method from the available options;
- postpone the notification for a specific time;
- сhoose not to send it - in this case, the notification will no longer be offered for sending and will remain in the notification history.
If there are multiple notifications ready for sending, a list will appear, allowing you to work with them: send notifications sequentially, pospone their sending, or choose not to send them.
How to send a notification?
When the time comes to send a notification, a popup will appear. Here's what to do:
1. Select one of the sending methods:
SMS, WhatsApp
— A chat window will open, and the notification text and number will be inserted automatically.
Telegram, Viber, Instagram, Facebook
— The customer’s profile in the social network or messenger will open, where you need to paste the copied text and send it.
⚠️ NB! To send notifications, make sure you’ve added the customer’s phone numbers and links to their social media pages to their profile.
2. Confirm sending
Next, a confirmation window will appear where you need to indicate whether the notification has been sent or not:
- If you click "Yes," the notification will be marked as "Sent" and the window will close.
- If you click "No," the window will reopen for you to resend the notification.
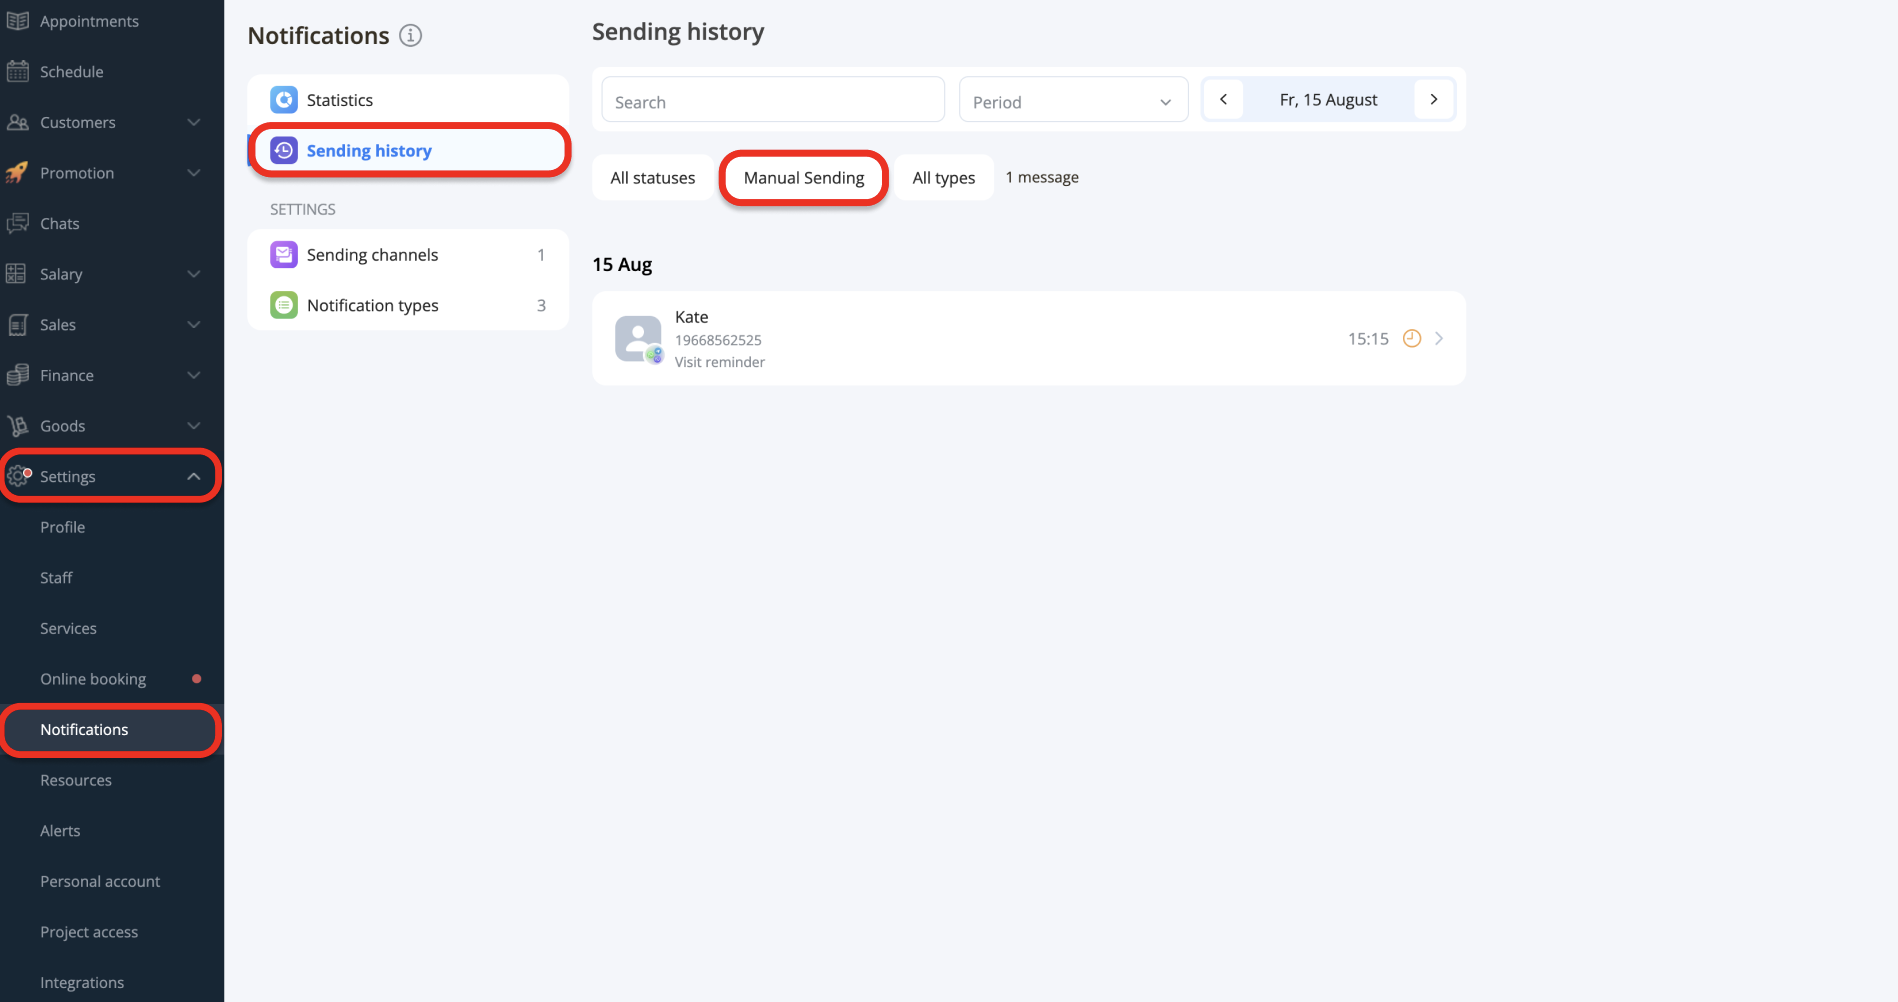
Where to check the notification status?
You can check the sending status of notifications and manage them in the Notification List subsection (in the mobile app) or Sending History (in the web version).
This feature is included in the LITE, PRO, and VIP plans. You can always check the current pricing in the Plans section.
Also read: