How to Enable Online Booking
Last modified:
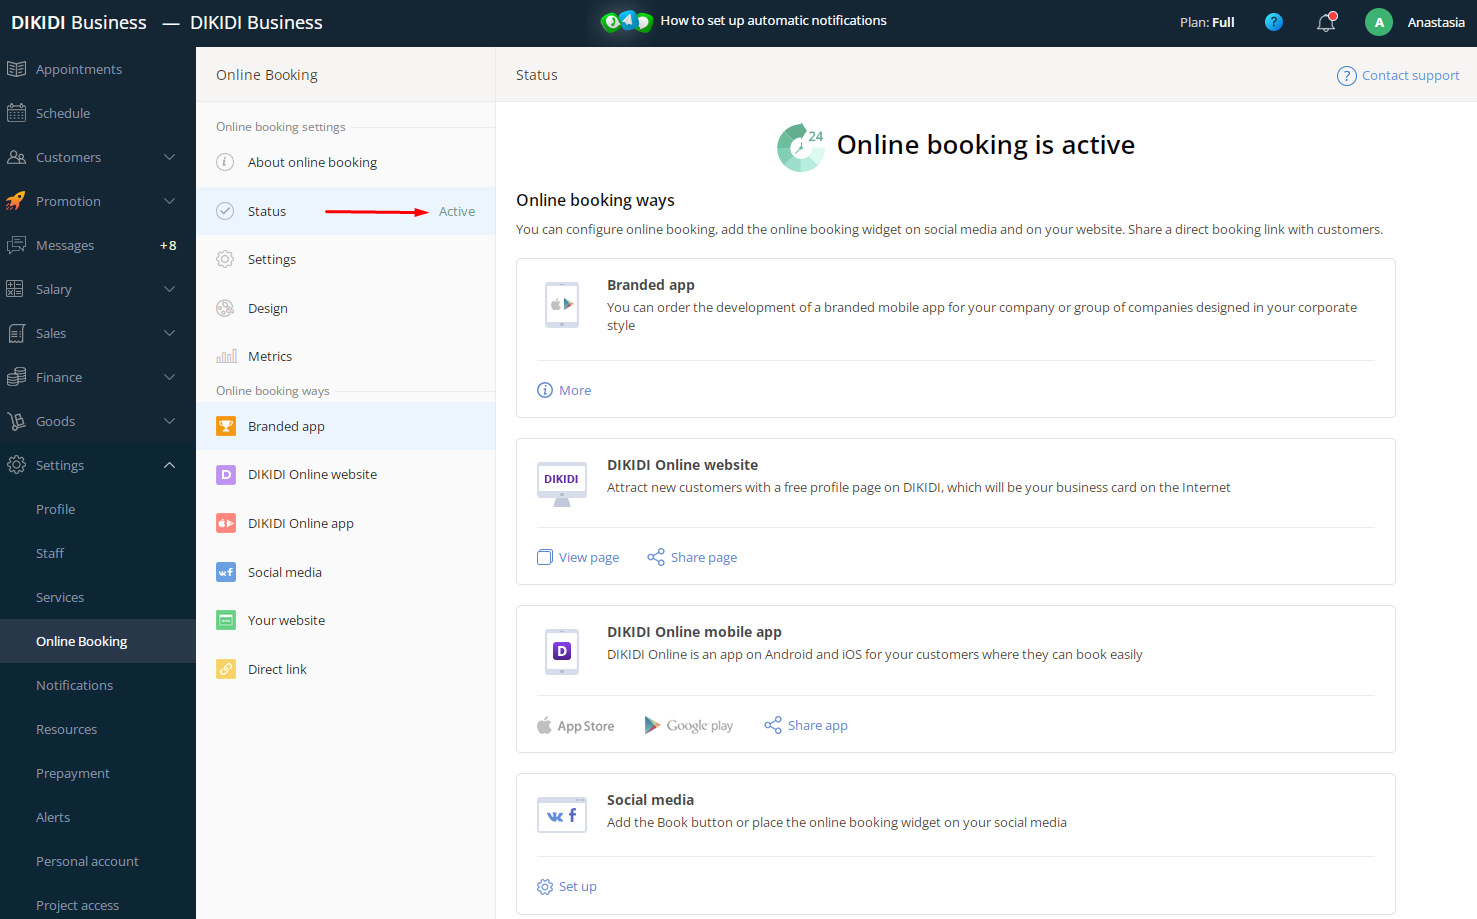
To enable Online Booking in the web version, please take the following steps:
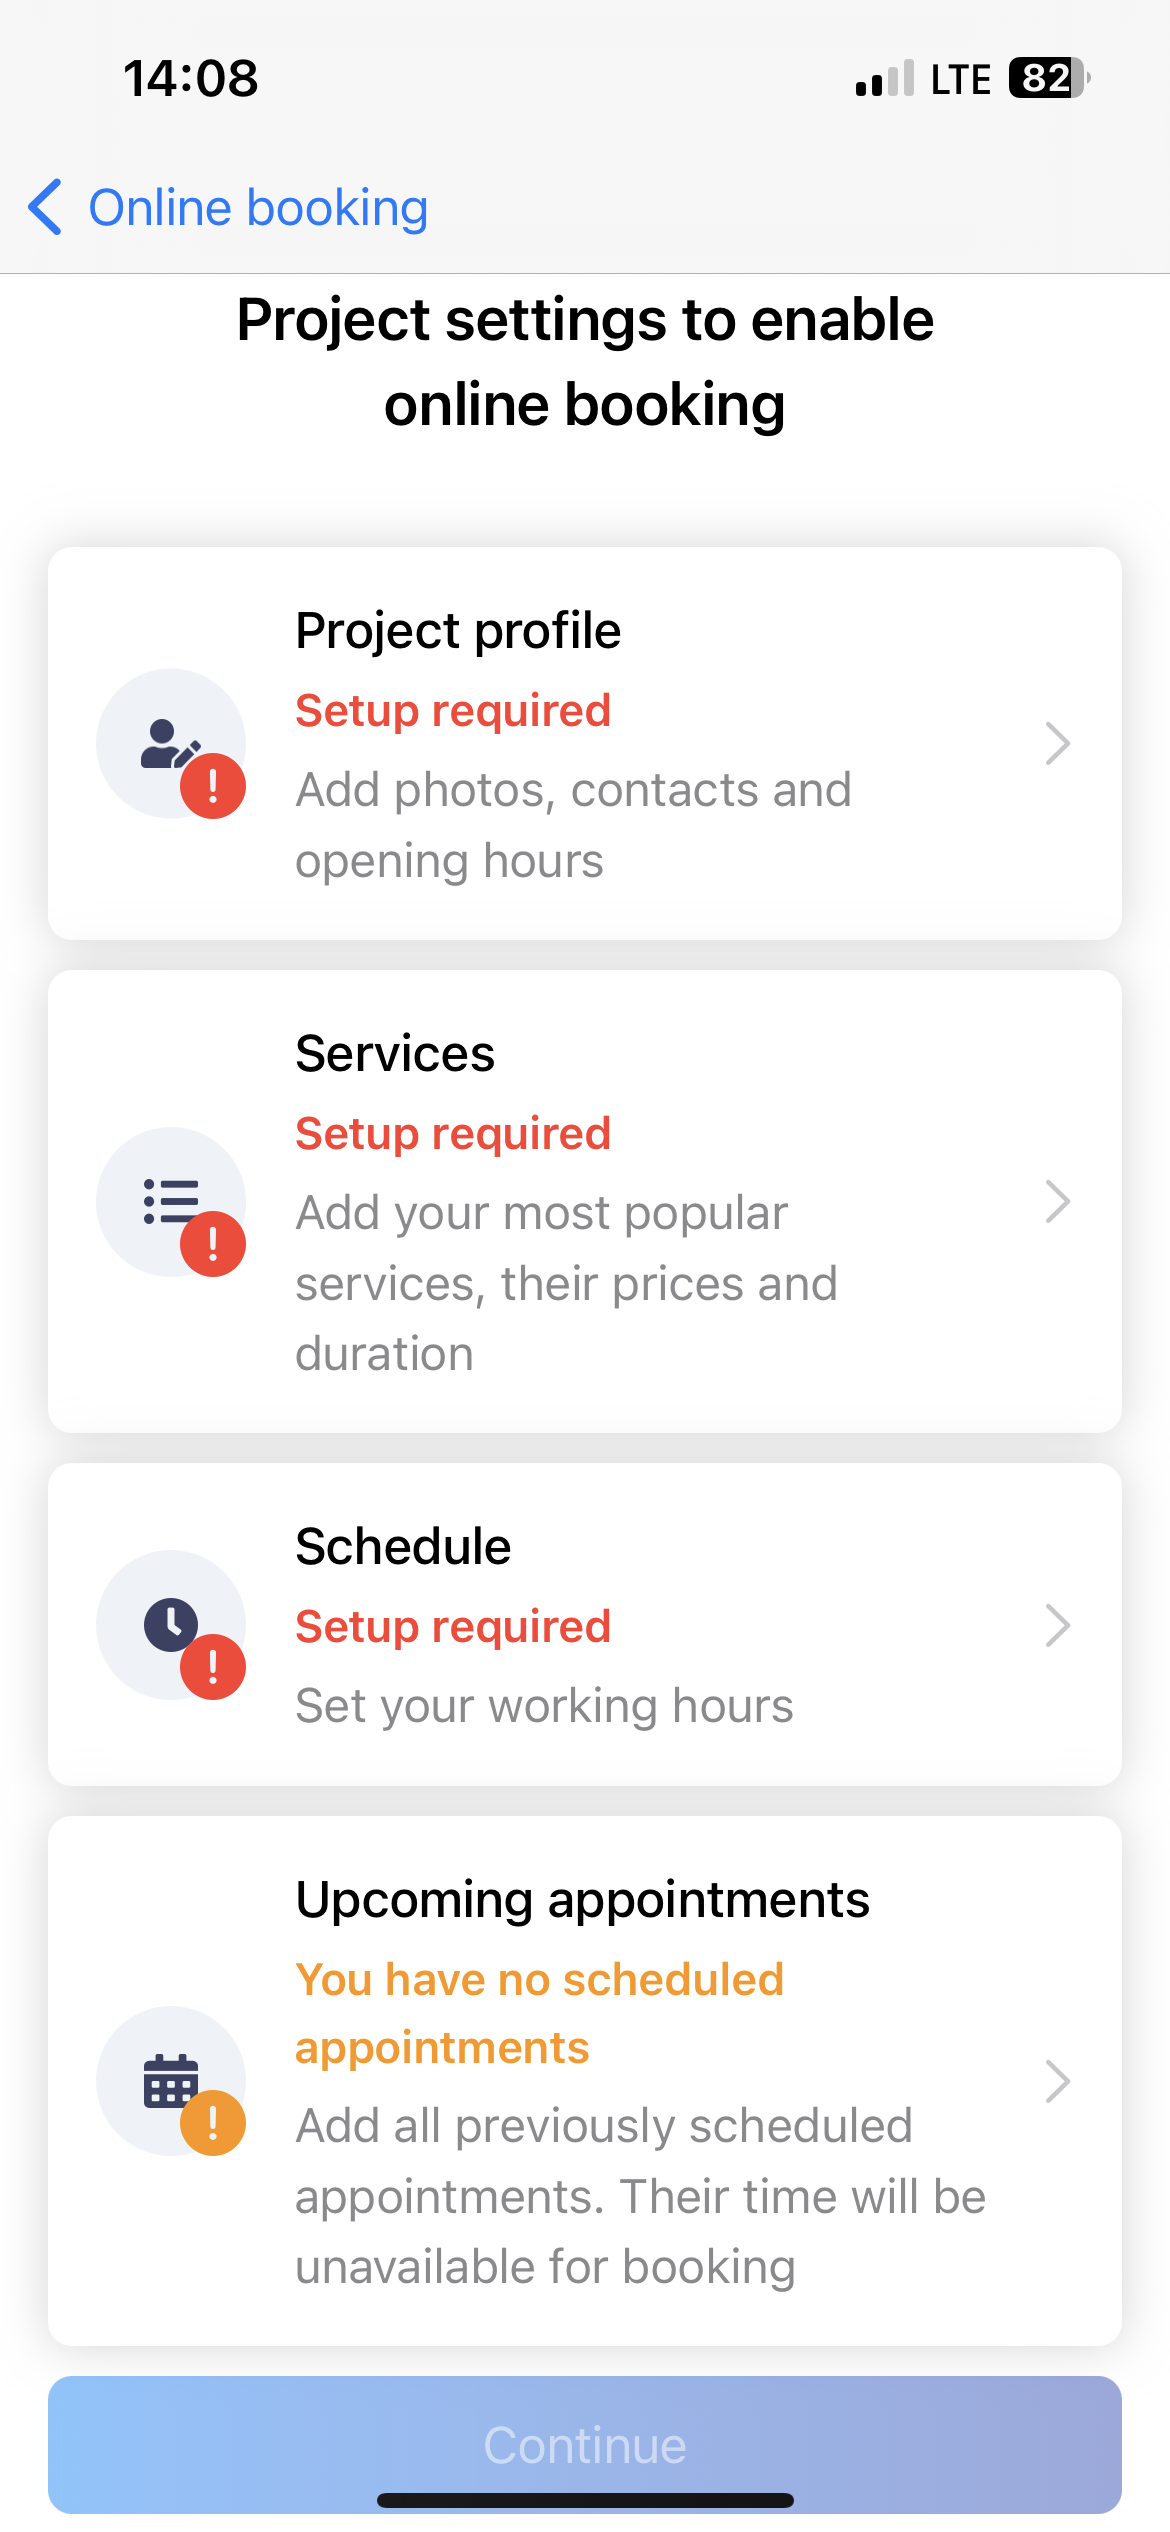
- create a schedule (the Schedule section in the menu);
- fill out your profile (the Settings section in the menu) and upload a photo;
- fill out the catalog of services and make sure they are available online (Settings section in the menu - Services);
- fill out employee information, if it's a Company project;
- enter all upcoming customer appointments for future dates in the Journal.
After that, go to the Online Booking section (in the Settings section of the menu) and click the "Enable Online booking" button.

To enable Online booking in the DIKIDI Business mobile app, please perform the same actions as in the web version, and it is easier to do them directly in the Online Booking section of the menu (by pressing the "More" button). Press the "Enable online booking" button and follow the 4 steps of the interactive instruction.

After moderation, Online booking will be activated. Please note the additional moderation requirements.
There are two types of profiles available in the DIKIDI service: Freelancer and Company.
For a Company profile, the following is required:
- At least 2 employees with a filled work schedule;
- Photos of the studio interior.
For a Freelancer profile, the following is required:
- To provide a personal name;
- To upload a personal photo to the profile.
You will receive a message about the result of the online booking moderation in the Chat (or Messages section in the web version). The Support Service operates in this section, where you can ask a question or request assistance with settings.