Finance in the DIKIDI Business App
Last modified:
To go to the Finance section, click Control – Finance.
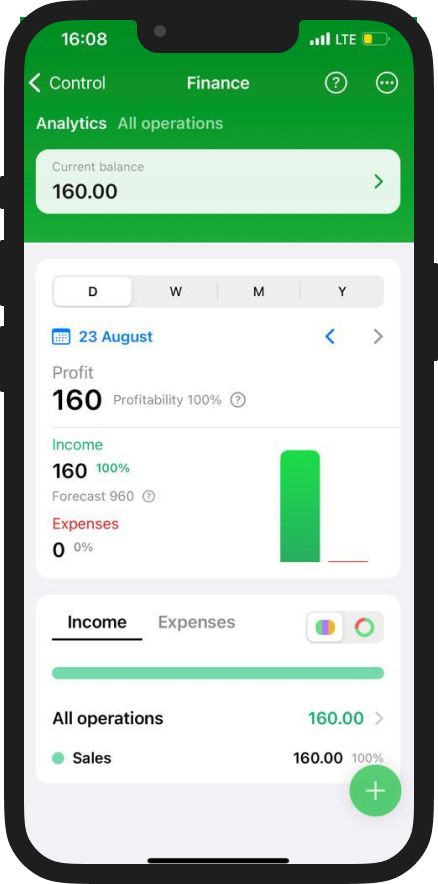
The functionality allows you to view your income for selected period. It's also simple and accurate to keep separate accounting for cash flow. Control the receipt and expenditure of money, transfer to different places of storage. You will be able to separate cash flows into cash and non-cash.
Separate accounting of finances helps to distribute income and expenses by separate items, which allows you to keep high-quality accounting by appointment. Charts on Income and Expenses help to analyze your cash flow, for a better allocation of resources and accounting for their balances.
Attention. To ensure that all income from services is reflected in a financial report, do not forget to mark payments for visits in customer Appointments.
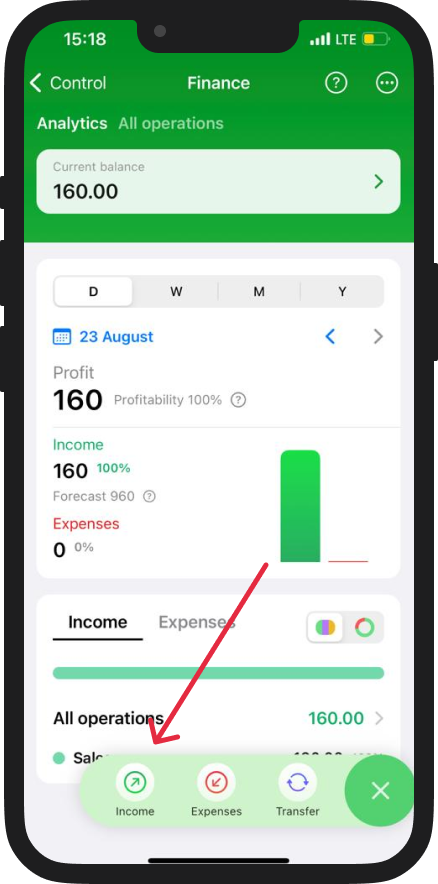
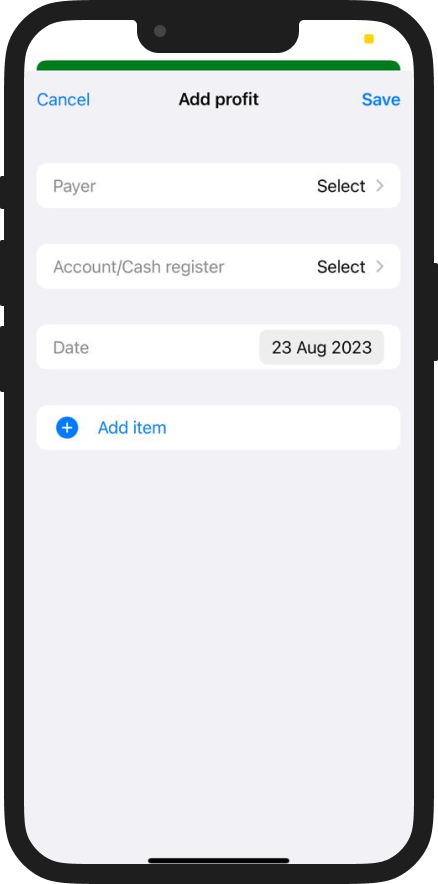
Next, indicate from whom this income came, where it will go (to a cash register or account), and also indicate a Cash flow item (for which money was received) and amount.
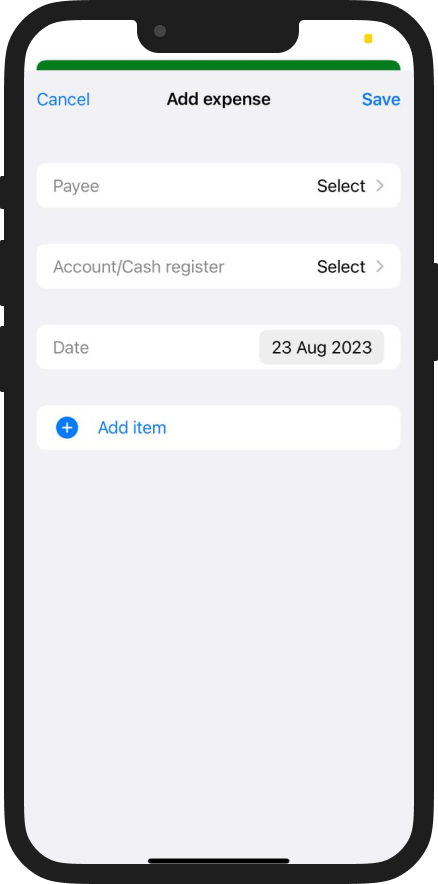
Next, indicate to whom you are giving money, where it comes from (from a cash register or account), and also indicate a Cash flow item (for which money was received) and amount.
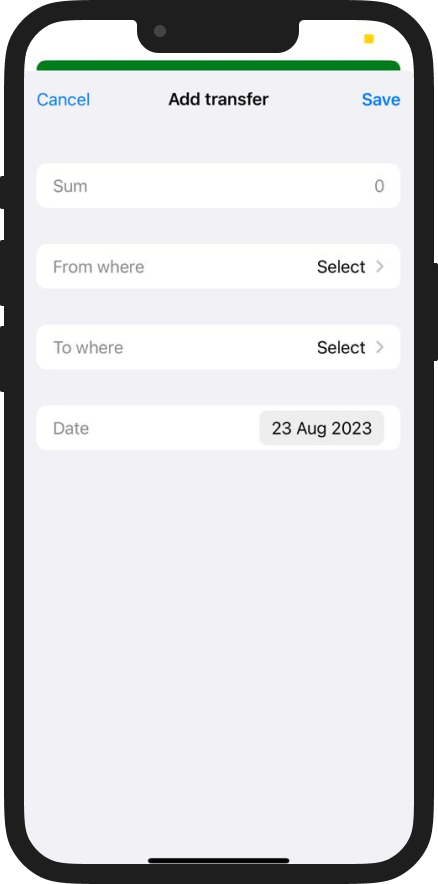
In order to make a transfer click on the plus in the lower right corner and select Transfer.
Next, select from where/where you want to transfer money and in what amount.
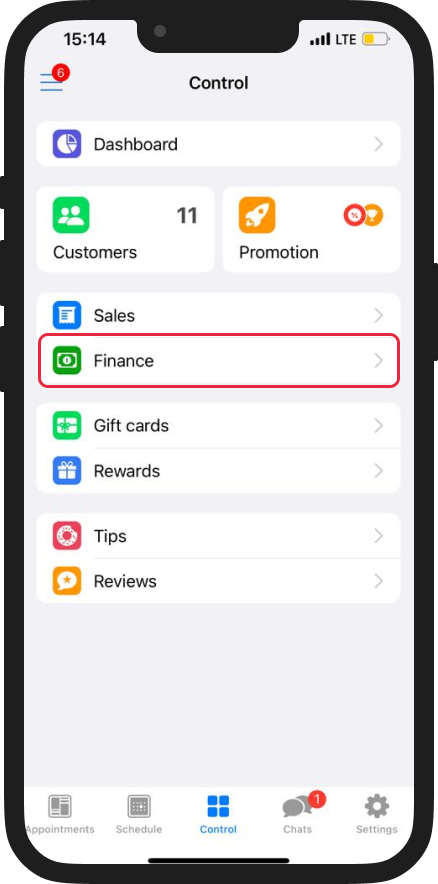
The functionality allows you to view your income for selected period. It's also simple and accurate to keep separate accounting for cash flow. Control the receipt and expenditure of money, transfer to different places of storage. You will be able to separate cash flows into cash and non-cash.
Separate accounting of finances helps to distribute income and expenses by separate items, which allows you to keep high-quality accounting by appointment. Charts on Income and Expenses help to analyze your cash flow, for a better allocation of resources and accounting for their balances.
Attention. To ensure that all income from services is reflected in a financial report, do not forget to mark payments for visits in customer Appointments.
Adding operations
All operations are created using the plus sign in the lower right corner.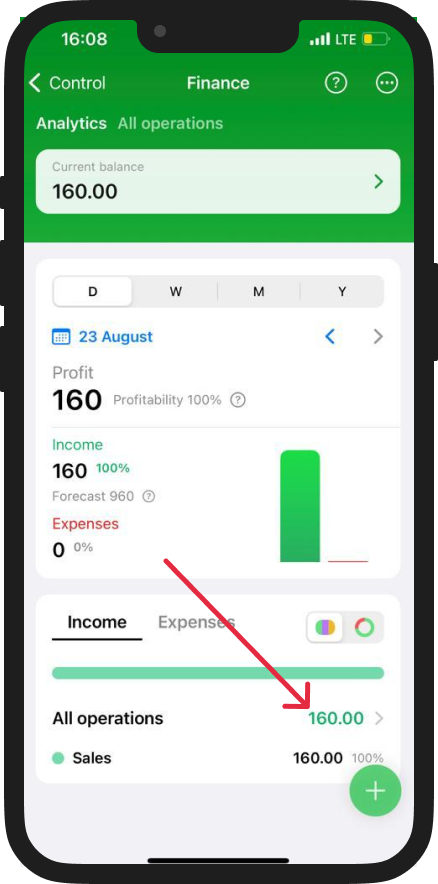
Add an Income
In order to add an Income to a cash register/account, click on the plus in the lower right corner and select Income/Profit.Next, indicate from whom this income came, where it will go (to a cash register or account), and also indicate a Cash flow item (for which money was received) and amount.
Add an Expense
In order to create an Expense from a cash register/account, click on the plus in the lower right corner and select Expense.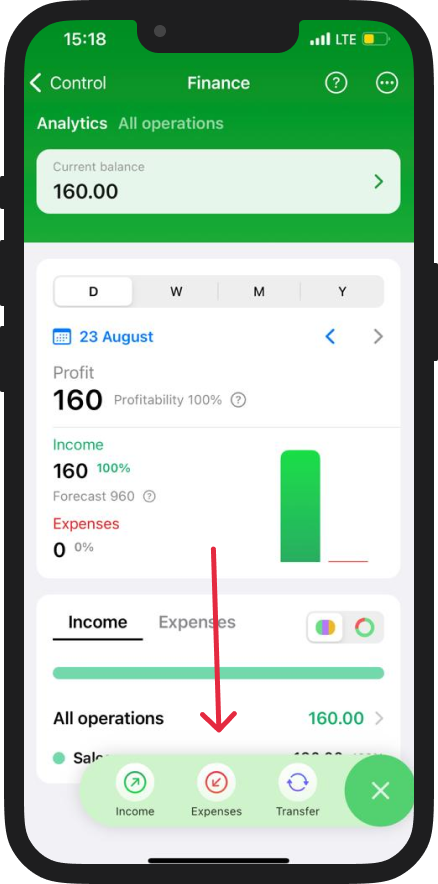
Next, indicate to whom you are giving money, where it comes from (from a cash register or account), and also indicate a Cash flow item (for which money was received) and amount.
Additionally, in Cash flow section, you can create a funds transfer between your cash registers/accounts.
In order to make a transfer click on the plus in the lower right corner and select Transfer.
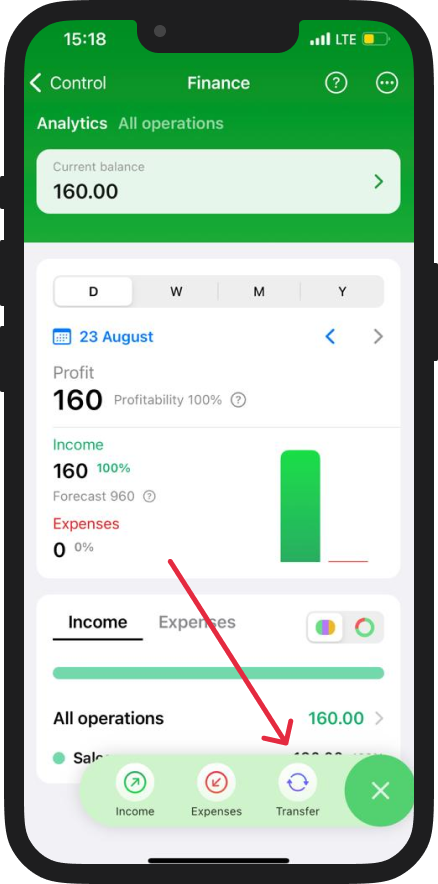
Next, select from where/where you want to transfer money and in what amount.
